To get your quilt ready for longarm quilting, you need to do the following:
- Press all seams flat from the back of the quilt. Then press the top of your quilt making sure all your seams are pressed flat.
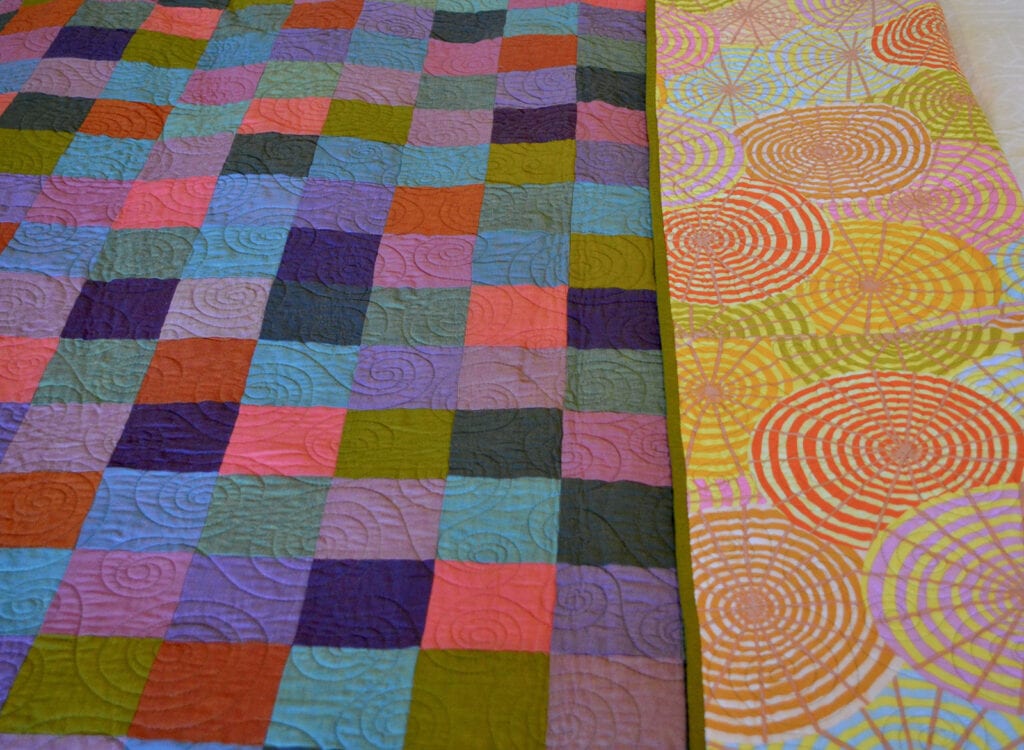
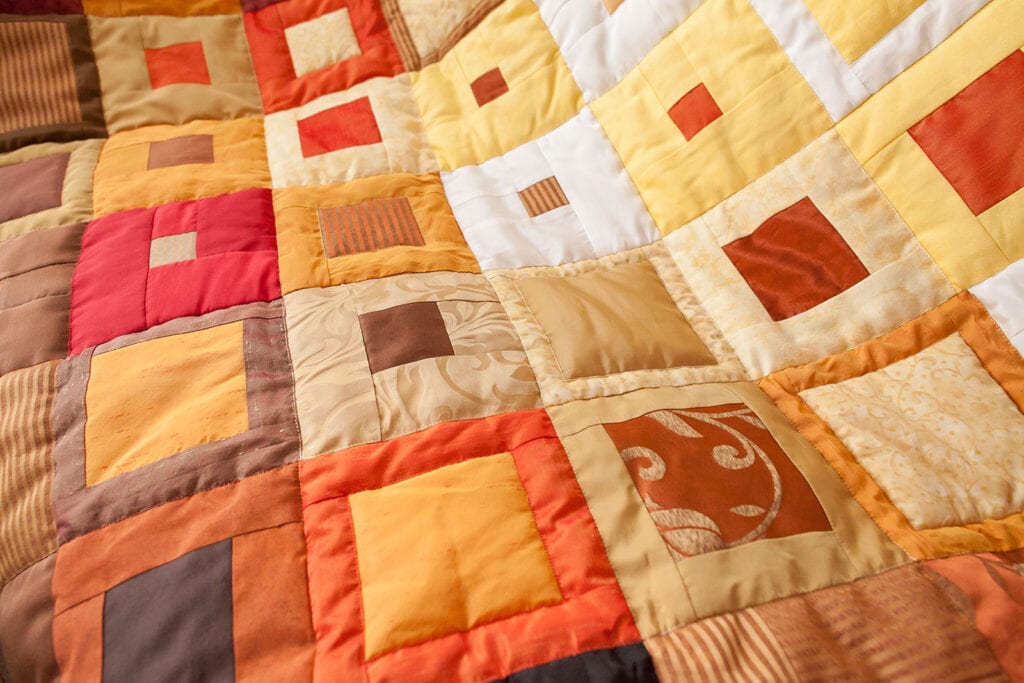
- The quilt top should lay flat and be squared up. Measure your quilt top across the top, bottom, and at the center. These three measurements should be the same. If not, there is a possibility that there will be puckers or a tuck in your finished quilt. Check out how to put borders on in Helpful Hints.
- Trim all loose threads from the quilt top, on both sides. Dark threads will show through white fabric if not trimmed prior to quilting.
- Check for weak seams and secure if necessary.
- When working with bias edges or seams on the outside of your quilt, you will want to sew a 1/8″ staystitch on all sides of your quilt top to prevent stretching and the seams from popping open. This is a good habit to develop.
- Backing and batting need to be at least 8″ longer and wider than the quilt top, (4″ on all four sides).
- Make sure the backing is square and press it. If the backing needs to be pieced, sew the pieces together using a 1/2″ seam allowance and press open.
- Pattern Pieced Back: Since the back is on a separate roller than the quilt top and due to the “shrink” factor, exact centering or placement of the back cannot be guaranteed. Therefore, it is suggested that you offset any ‘pattern’ in a pieced backing.
- Safety pin a note to mark the top of the quilt and/or backing if you have a directional preference.
We all know that quilting can hide many imperfections; however, we cannot guarantee that any fullness in your top will be quilted out. We will do our very best to blend imperfections as much as possible and provide you with a beautiful quilt that you will treasure.
Don’ts:
- Do not baste or pin the layers together as they are mounted on the machine separately.
- Do not include buttons, charms, sequins, paint, or other embellishments on quilt. Those items can be added after the machine quilting is completed.